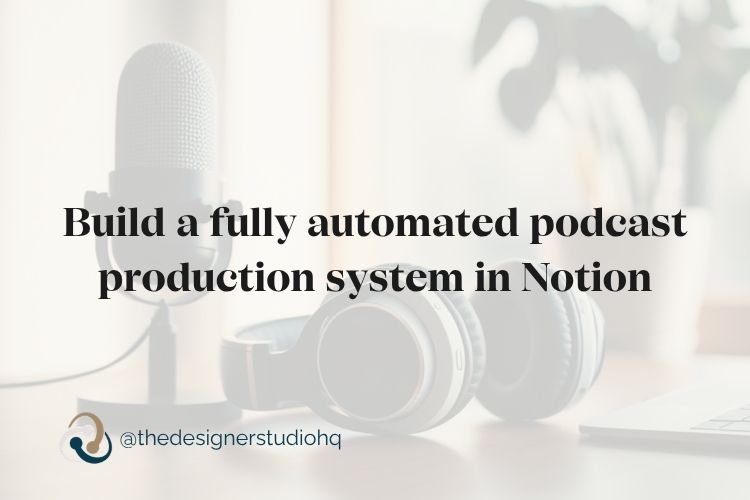
If you’ve ever managed a podcast for a client, you know the chaos that can come with it. Who’s got the audio file? Did the editor finish? Is it published yet? Has the client been notified?
For a while, those questions got answered the old-fashioned way — through a stream of back-and-forth emails and manual status updates that nobody had time for.
Then I built a Notion database for one of my clients, and everything changed.
Today I want to walk you through the exact system I built — the database views, the workflow stages, and the buttons and checkboxes that make the whole thing run automatically. By the end, you’ll have a clear picture of what a done-for-you Notion system can look like for a podcast client, and how it makes managing their episodes feel genuinely calm.
The Problem with Managing a Client’s Podcast Manually
Before we get into the build, let’s talk about the chaos this system replaced.
When a client records a podcast episode, there are a lot of moving pieces:
- The audio needs to get to the editor
- The editor needs to notify you when it’s done
- You need to upload it, run it through transcription, create the publishing package, publish it, and then notify the client
- Then there’s the soundbite, the blog post, the captions…
Without a system, every single one of those handoffs is a manual communication. That’s a lot of emails. A lot of “hey, just checking in” messages. And a lot of mental energy spent tracking what stage everything is in.
The goal with this Notion build was simple: no one should have to email anyone to know what’s happening with an episode.
Spoiler: we got there.
The Database Structure: What the Views Look Like
The foundation of this entire system is a single Notion database — a Podcast Episodes database — with multiple views that show each episode exactly where it needs to be seen.
Here’s how the views are organized:
- Upcoming Episodes — episodes that are planned and ready to record
- In Progress — episodes currently in the editing or publishing workflow
- Ideas — a place to capture future episode concepts before they’re scheduled
- Published — Current Month — recently published episodes for quick reference
- Published — Past Three Months — a rolling archive for easy review
- All Episodes — the full library view
Each view filters the same data differently, so everyone — the client, the editor, and me — always sees exactly what’s relevant to them without wading through everything at once.
How Episodes Move Through the System
When a new episode idea is ready to record, it either gets added to the Upcoming view or the client finds it in the Ideas view and changes its status to “Raw Audio.” That one change moves it automatically into the In Progress workflow.
(A small improvement I’ve already flagged: we could add a checkbox in the Ideas view that triggers this status change automatically — one tap and the episode moves itself.)
The Three Roles — And What Each Person Actually Does
Here’s where this system gets really satisfying to explain, because the roles are crystal clear and the workload is surprisingly light for everyone involved.
The Client’s Role
This is the best part. The client’s only responsibilities are:
- Record the episode in Riverside
- Open Notion and check a checkbox that says they’ve recorded it
That’s it. Everything else is automated from there.
The client typically accesses Notion from their phone, so the dashboard is simplified for mobile — clean, simple, and easy to tap. They have their own view that shows episodes to record, a task list, and a resources database. No clutter. No confusion.
The Editor’s Role (Steve – my husband)
When the client checks that recording checkbox, a Notion automation fires and sends a notification to Steve — my husband and the editor on this project — that the audio is ready and waiting in Riverside.
Steve downloads the file, edits the audio, and when he’s done, he clicks a button on the episode page. That button does two things at once:
- Inserts an upload block so he can upload the final edited audio file directly onto the episode page
- Changes the episode stage to “Final Audio” and sends me a notification that it’s ready
No email. No Slack message. No waiting to hear back.
My Role
Once I get the notification that the final audio is ready, I take over:
- Upload the audio to CastMagic to get the transcription
- Paste the transcript onto the episode page in the database
- Run my AI agent — which has custom instructions built specifically for this client — to turn the transcript into a complete publishing package
The AI agent delivers everything in one pass:
- Show notes formatted for the website and Buzzsprout (with all headings, subheadings, and pull quotes)
- Meta description and keywords
- Three soundbite excerpts I can choose from
- Instagram captions
- Social media assets
- A publishing checklist so I know exactly what to do next
Because the AI instructions format everything in a specific layout every time, I never have to wonder what comes next. It’s the same structure for every episode.
The Publishing Step — And How the Client Gets Notified
Once I’ve published the episode on the website and in Buzzsprout, I click a button on the episode page labeled “Show Notes.” That single button:
- Adds a callout block to the page with the formatted show notes
- Checks the box marking the episode as published
- Automatically sends the client an email with a link to the live episode and the show notes
The client can open that episode page and see everything in one place — the show notes, the Instagram captions, the soundbite options, the full publishing package. It’s all right there.
The Soundbite Workflow
I pick one of the AI-generated soundbite excerpts, create the clip in Buzzsprout, and design the cover image in Canva. When it’s done, I click the Soundbite button on the episode page. That button gives me an upload block for the soundbite file, and automatically sends the client an email that their soundbite is ready to download.
Again — no manual email. Just a button.
The Blog Integration
The Podcast Episodes database has a relational property connected to the client’s Blog database. I regularly write blog posts based on episode content, and when a blog post goes live, the same automation logic kicks in — the client gets an automated email with the blog link so they can review and share it.
If they spot a typo or a broken link, they can flag it. But they’re never left wondering whether a post went up.
What This Means for You as a Web Designer
This kind of system is exactly what separates a website project from a business system project.
A lot of designers hand over a beautiful site and call it done. But when you can look at a client’s workflow — whether that’s a podcast, a service delivery process, or a content calendar — and say, “I can build you a Notion system that makes this run automatically,” that’s a different conversation entirely.
You’re not just a web designer anymore. You’re the person who made their business calmer.
And honestly? That’s a much stickier client relationship.
Three things you can take from this build:
- One database, multiple views is almost always cleaner than multiple separate trackers. Start there.
- Buttons and checkboxes replace most status emails. If someone on your team is sending a “just checking in” message, there’s probably an automation waiting to be built.
- The client’s experience should be as simple as possible. One tap. One checkbox. That’s the goal.
If you want to build something like this for your own clients — or for your own business — the Build Your Notion HQ course walks you through setting up systems like this from the ground up.
And if you want to see how this fits into a complete client project workflow, check out The Web Designer’s Project HQ template — it’s built for exactly this kind of multi-step, multi-person project management.