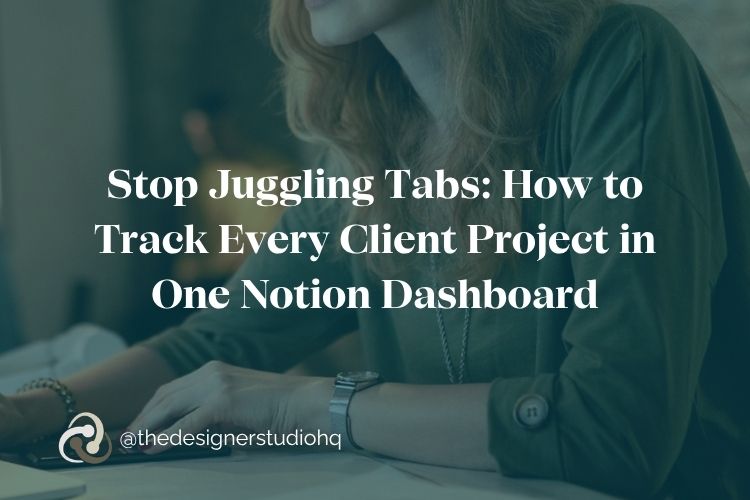
Could your project workflow BEEEEE any messier? (Sorry, had to.) If you’ve ever opened your laptop on a Monday morning and genuinely couldn’t remember where you left off on a client project — you are not alone, and this post is for you.
I’m talking about the tabs. So many tabs. Gmail for client emails, Google Drive for shared files, a Google Doc with notes from the kickoff call, a Google Sheet tracking tasks, your CRM for contracts and invoices, and somewhere in there — a browser search for the client’s login credentials that you swore you saved somewhere logical.
This is what I call the 17 Tabs Chaos Stack, and it is the number one thing that makes running a web design business feel so much harder than it needs to be.
The good news? There’s a better way. And it lives entirely inside Notion.
The Problem with Juggling Multiple Tools for Project Management
Here’s the thing about scattered project information — it’s not just annoying. It’s actually costing you time, energy, and occasionally your sanity. When your client info lives in one place, your tasks live in another, and your files are somewhere else entirely, you spend a significant portion of every project week just finding things instead of doing things.
And if you have a team, or you’re planning to bring someone on? That scattered setup becomes a real problem fast. You can’t hand off a project that only exists inside your head and across seventeen disconnected tabs.
What you need is a hub. One place where the client, the project, the tasks, the files, and the communication all live together — connected, organized, and easy to navigate. That’s exactly what a Notion Project HQ gives you.
What a Notion Project HQ Actually Looks Like
Before I get into the setup, let me paint a picture of what this looks like in practice.
Imagine you open your Notion workspace on Monday morning. You’ve got one dashboard — your Web Design Project Dashboard — and from there you can see every active client, what stage their project is in, their target launch date, and whether anything is flagged as at risk. No inbox searching. No spreadsheet hunting. Just clarity.
That’s the goal. And here’s how it’s structured.
The Client Record: Your CRM in Notion
Every client gets their own page — a Client Record — that holds everything about who they are as a client and an ongoing relationship. Contact information, linked projects, calls, files, notes. The whole picture.
The important thing to understand here is that the Client Record is separate from the Project Record. The Client Record is about the person. The Project Record is about the work. This distinction might seem small, but it’s the thing that makes the system scalable. One client can have multiple projects over time — a website launch, then a retainer, then a new service page six months later — and all of it rolls up to their one Client Record.
The Project Record: Your Project HQ
This is where the active work lives. Each project gets its own page with the stage, start date, target launch date, linked client, tasks, calls, and a message center for client communication. It’s also where you’ll find the client portal section — more on that in a second.
The rule I follow: one project = one client. It keeps things clean and makes the whole system repeatable. When you take on a new client, you duplicate the template, fill in the details, and you’re ready to go.
The Task Database: Where the Work Gets Done
Tasks live in their own database but are related to both the project and the client through Notion’s relation properties. This means you can filter your task view to show only the tasks for the project you’re actively working on, without digging through everything else.
Tasks have statuses — Not Started, In Progress, Done — and a Done checkbox. When a task is marked complete, an automation updates the status and removes it from the active view automatically. Clean list, always.
The part that makes this really powerful: buttons.
Instead of manually creating tasks at the start of every project phase, I have stage-specific buttons built into each project template. When I’m ready to move into the Build phase, I click one button and every task for that phase is added to the task database — with due dates already calculated from the project start date. One click. Done. No copy-pasting, no forgetting a step.
The Client Portal: Give Clients Access Without the Chaos
One of the questions I get most often is: how do you share project information with clients without giving them access to your entire workspace?
The answer is built right into the project page. Inside each project, there’s a client portal section. I control which tasks show up there by using a “Client Access” property — a person property where I add the client. Any task I add them to shows up in their portal. Anything I don’t add them to stays invisible to them.
Clients see their tasks, any documents I’ve uploaded for them, and upcoming calls. That’s it. Simple, clean, and professional — without a complicated third-party tool.
And here’s the automation piece: when I assign a task to a client, they automatically get an email notification that the task is ready and waiting for them. I don’t have to remember to send the email. The system does it.
Risk Flags: The Feature That Saves Projects
This is the one I don’t talk about enough: Risk Flags.
Every project has a Risk Flags property. If something is going sideways — client copy is delayed, a revision round is taking longer than expected, waiting on a third-party integration — I flag it right on the project record. Back on the main dashboard, that flag is immediately visible.
No more projects quietly going off track while you’re heads-down in another client’s work. The dashboard tells you where to look.
How the Whole Workflow Flows
Here’s what the full client journey looks like inside this system:
- Inquiry submitted — captured automatically in the inquiry form database, connected to your website form. I use Fluent Forms Pro and that natively connects to Notion.
- Discovery call, proposal, contract, deposit — handled in your client-facing tools (CRM, scheduler, etc.). I use Fluent CRM.
- Project created in Notion — new project page from your template, client record linked
- Onboarding phase — click the button, tasks added, client assigned, automated notification sent
- Move through stages — as each phase wraps up, click the next stage button for the next set of tasks
- Launch — stage updated, client transitions to ongoing/care and support
- Ongoing relationship — new projects linked back to the same client record over time
Every step is repeatable. Every step lives in one place.
Why Separate Databases Are the Secret
I want to address something that trips people up when they first build a system like this: why not just put everything in one big database?
Because too much information in one place makes everything harder to find and filter. Your inquiry forms, message center, content workbooks, client records, and project records all serve different purposes and hold different types of information.
When they’re in separate databases — but connected through Notion relations — you get the best of both worlds. Everything is organized by purpose, and everything talks to each other.
That’s the key: separate databases, related records.
Want This Already Built for You?
If you’re looking at this system and thinking, “I want this, but I don’t want to build it from scratch” — good news. The Web Designer’s Project HQ template ($49) has everything you just read about, already set up and ready to use. The dashboard, the client database, the project templates, the task database, the buttons, the client portal structure — all of it.
You plug in your clients and get organized without spending a weekend building databases.
And if you want to see the whole thing in action first, I walk through every part of this system in the video below. (Yes, it’s a real demo. Yes, Rachel Green is the demo client. No, I have no regrets.)